


New technologies advance and it has been a long time since the Internet went from being an exclusive network of computers, to a new one where different gadgets and devices coexist, ranging from mobile phones, video game consoles, alarms and even household appliances.
And it is that with the arrival of Smartphones such as iPhone, or "smart phones" the new culture of "always being connected" is imposed, which is why every day users who use the phone to check email or visit a website increase. .
Although setting up an email account, as we will see, may seem very simple, the variety of devices, applications and user interfaces to access email can be quite disorienting.
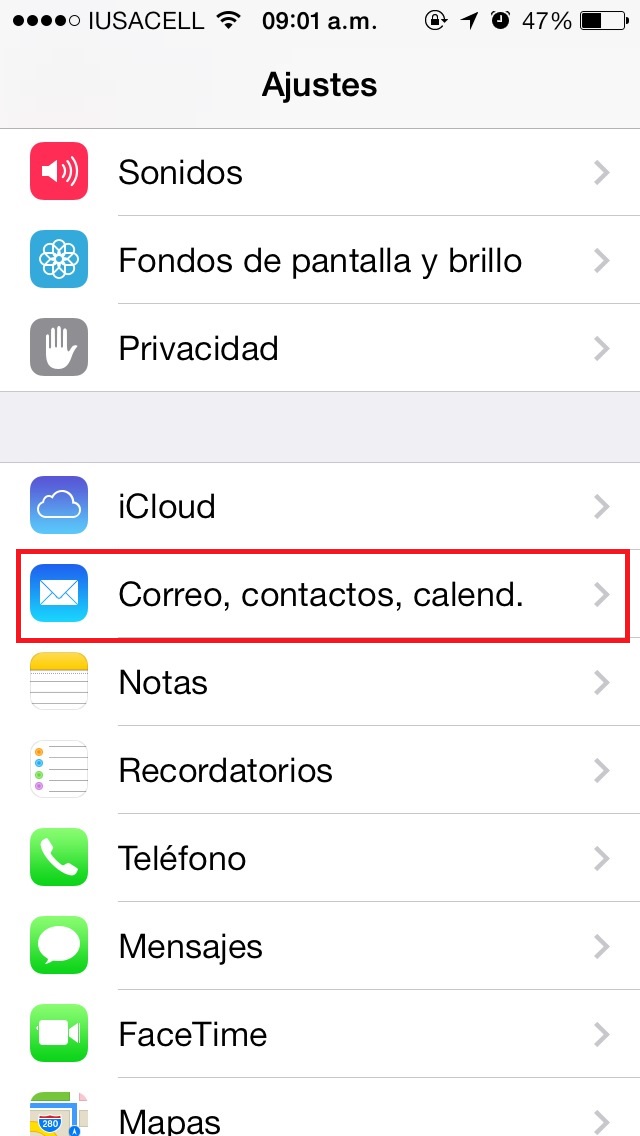
To configure our corporate email on our iPhone, the first thing we must do is enter the Mail, contacts, calend option.
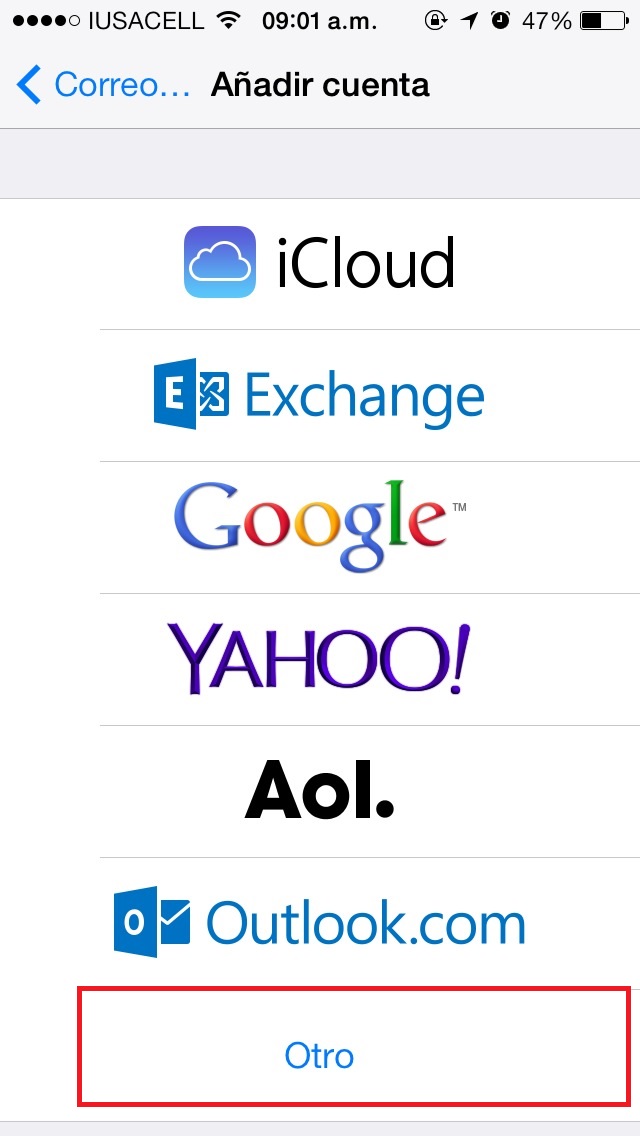
Later we will select the option Add account.

Nos pedirá que le indiquemos que servidor queremos. Seleccionaremos la opción “Otro”.
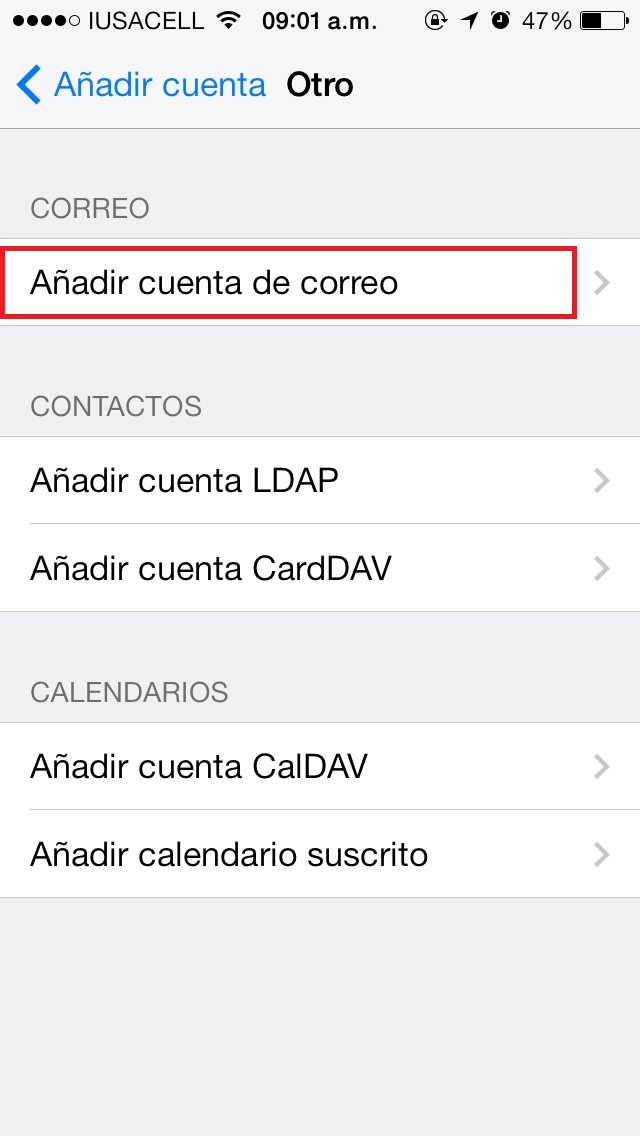
Hay varias opciones para nuestra cuenta de correo. En este caso seleccionaremos la opción “Añadir cuenta de correo”
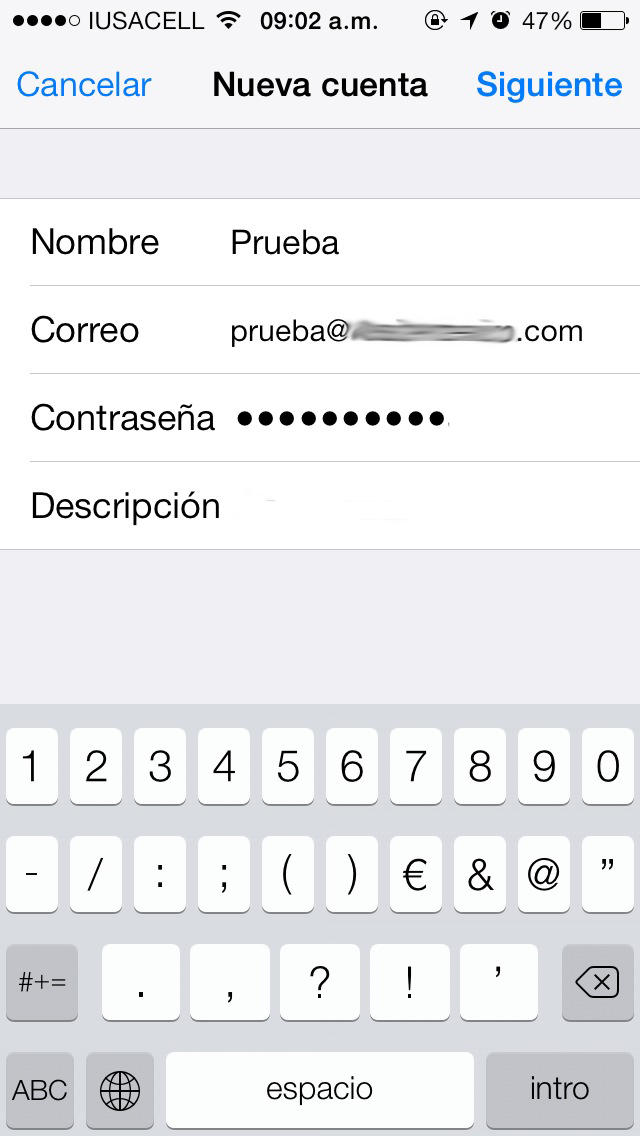
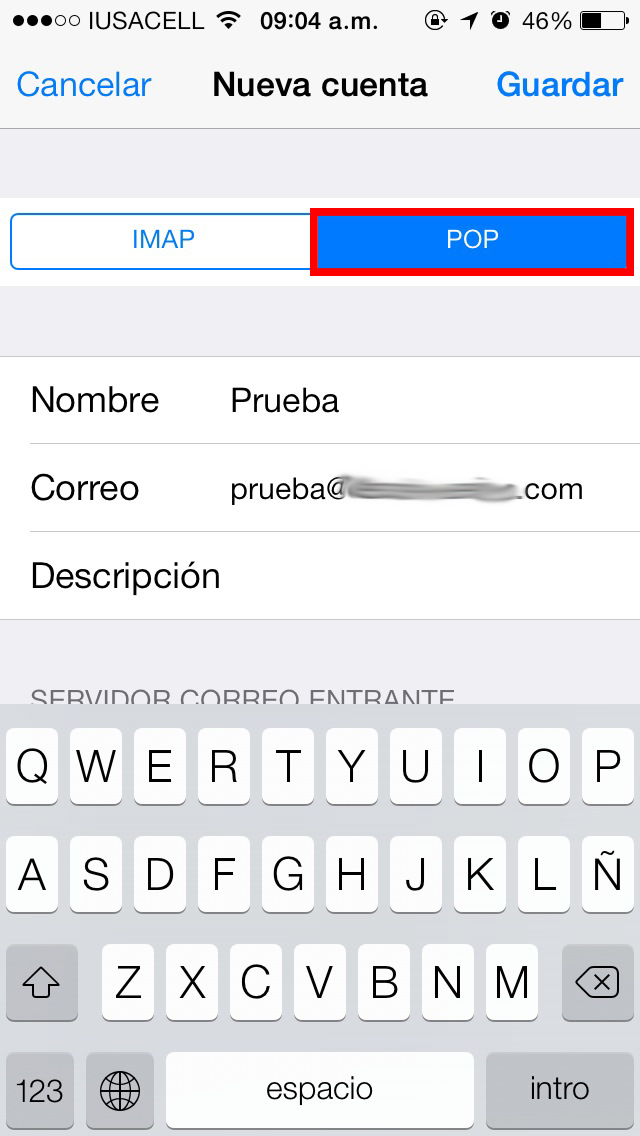
It will ask us for the data of our domain.
Name: It is the name that will be visible to our contacts when we send them an email
Email: The email address that we want to configure.
Password: The password of our email account.
It is important that our account is configured in the POP option.
We will select the server options:
Hostname: mail.domainname.com
Username: Full email address
Password: The password of the email account.
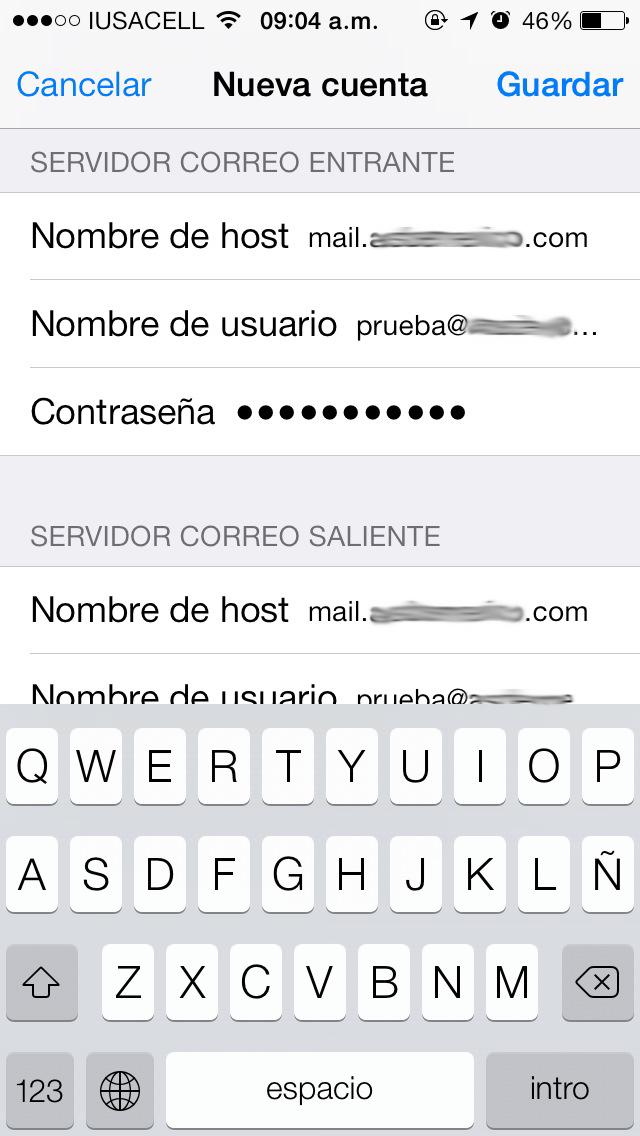
The outgoing server settings are the same as the incoming server.

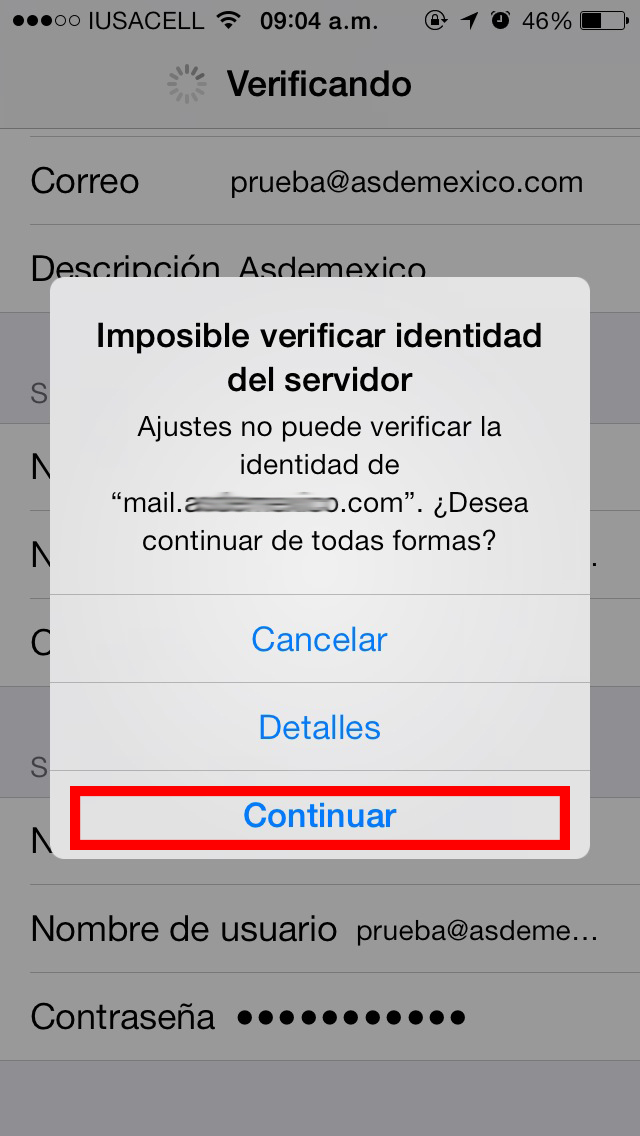
Nos mostrará un mensaje de advertencia. Al cual debemos seleccionar la opción “Continuar”
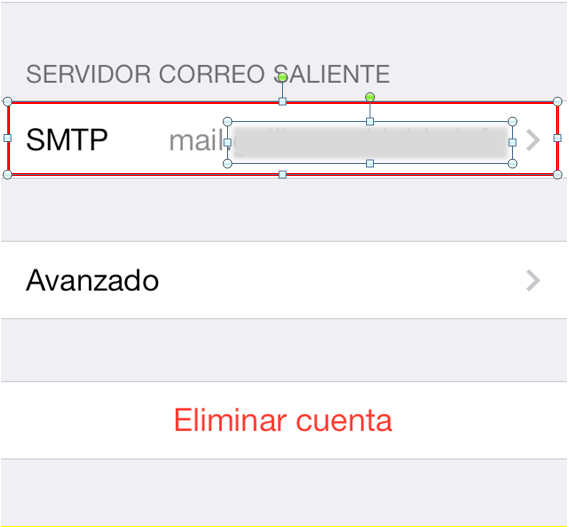
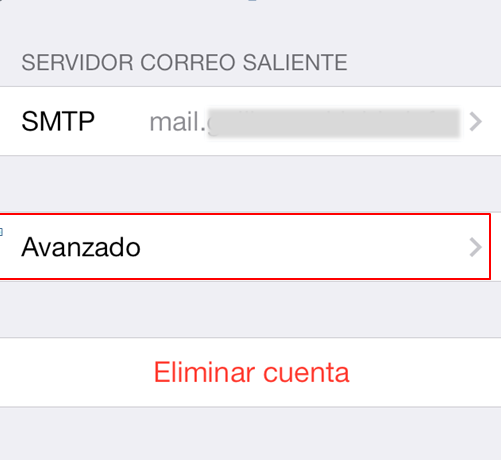
Ahora seleccionamos la cuneta de correo que dimos de alta y vamos a “SMTP”.
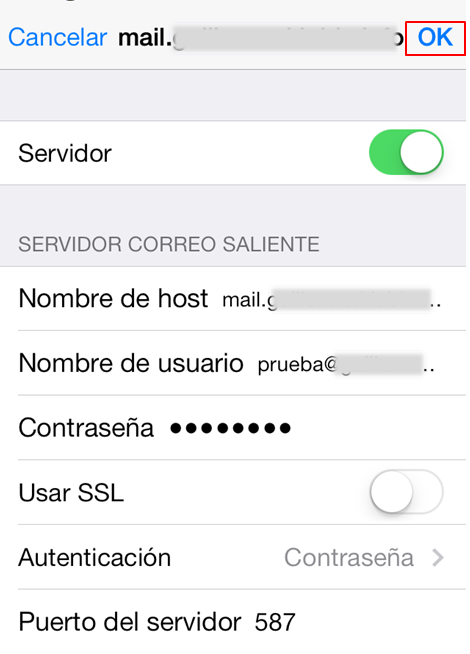
Within the options we place the following configuration:
Hostname: mail.domainname.com
Username: Full email address
Password: The password of the email account.
Use SSL: Disabled.
Authentication: Password.
Port: 587
Para finalizar damos clic en “OK”.
Por ultimo vamos a “Avanzado”.
We place the following configuration:
Use SSL: Disabled
Server port: 110
S / MIME: Disabled.

In this way, our email account will be configured.


No Comment