Next we are going to learn how to install a wordpress using the wordpress toolkit.
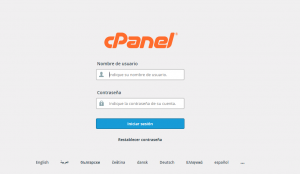
1- First we must enter our cPanel.
2- Once inside our cPanel we are going to look for the WordPress Toolkit tool
3- Within this tool we select the name of our domain and click on install.
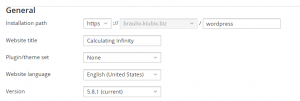
4- Now we are going to fill in the General information.
In the general information we must place the URL where we want it to be installed, we can select the language that is to our liking as well as the version.
5- In the next step we get to the WordPress Administrator which is the section in which the site administrator user is generated:
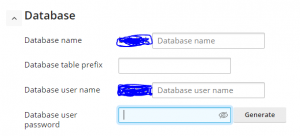
6- In the next section we must fill in the data in our database to finish.
7- Now we are going to slide to the final part and click on install.
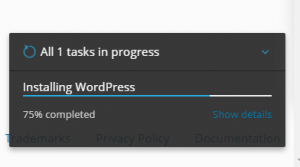
It will show us a box in which we indicate the percentage we must wait until it has finished.
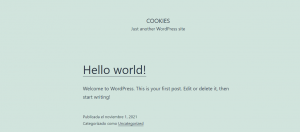
Once the installation is finished, we go to our website and we will see our wordpress installed.









No Comment