Apache server is the most widely used web server in the world. It provides many powerful features including dynamically loaded modules, robust media support, and extensive integration with other popular software.
Apache is available within Ubuntu's default software repositories, so we'll install it using conventional package management tools.
- sudo apt-get update
- sudo apt-get install apache2
Available applications: Apache Apache Full Apache Secure OpenSSHAs you can see, there are three profiles available for Apache:
- Apache - This profile opens only port 80 (normal unencrypted web traffic)
- Full apache - This profile opens both port 80 (normal unencrypted web traffic) and port 443 (encrypted TLS / SSL traffic)
- Apache Secure- This profile opens only port 443 (encrypted TLS / SSL traffic
For our purposes, we will allow inbound traffic for the profile full Apache writing:
sudo ufw allow 'Apache Full'
You can verify the change by typing:
sudo ufw status
You should see the allowed HTTP traffic in the displayed output:
Status: active To Action From - ------ ---- OpenSSH ALLOW Anywhere Apache Full ALLOW Anywhere OpenSSH (v6) ALLOW Anywhere (v6) Apache Full (v6) ALLOW Anywhere (v6)
Step 3: check your web server
At the end of the installation process, Ubuntu 16.04 starts Apache. The web server should already be up and running.

We can check with the init system to make sure the service is running by typing:
At the end of the installation process, Ubuntu 16.04 starts Apache. The web server should already be up and running.
We can check with the init system to make sure the service is running by typing:
sudo systemctl status apache2
Try typing this at your server's command prompt:
hostname -I
You will receive some addresses separated by spaces. You can test each one in your web browser to see if they work.
An alternative is to type this, which should give you your public IP address as seen from another location on the internet:
- sudo apt-get install curl
- curl -4 icanhazip.com
When you have the IP address or domain of your server, enter it in the address bar of your browser:
http: // server_domain_or_IP
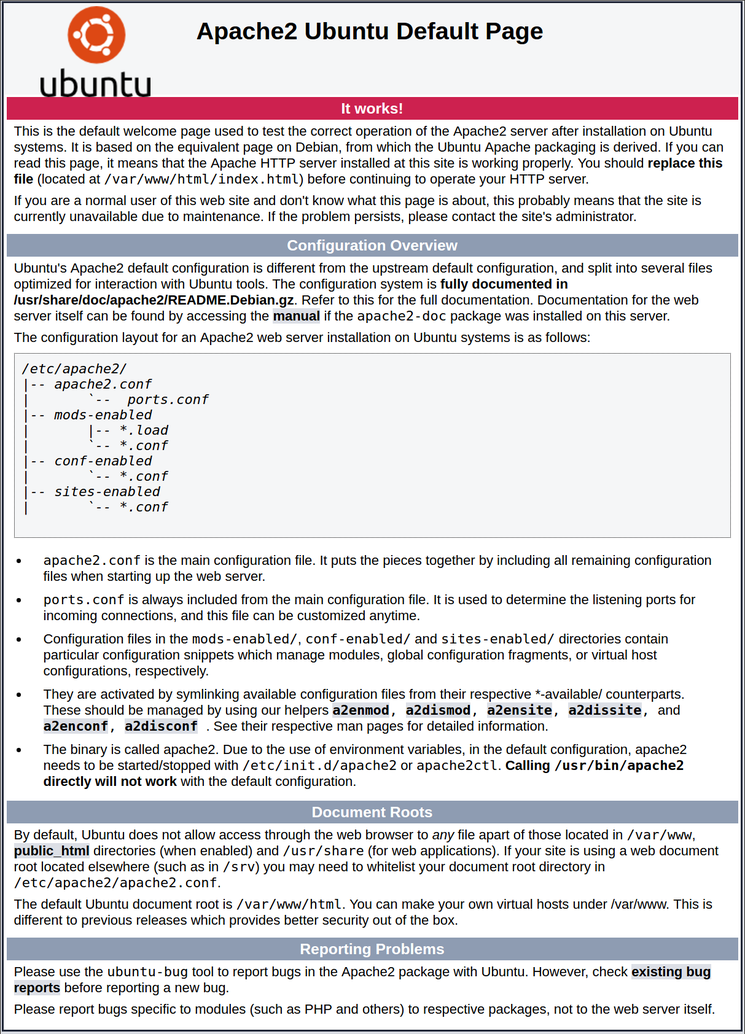
You should see the default Apache web page for Ubuntu 16.04, which should look something like this:

Step 4: Manage the Apache process
To stop your web server, you can type:
sudo systemctl stop apache2
To start the web server when it is stopped, type:
sudo systemctl start apache2
To stop and then start the service again, type:
- sudo systemctl restart apache2
If you simply make configuration changes, Apache can often reload without dropping connections. To do this, you can use this command:
- sudo systemctl reload apache2
By default, Apache is configured to start automatically when the server starts. If this is not what you want, you can disable this behavior by typing:
- sudo systemctl disable apache2
To re-enable the service to start at boot, you can type:
- sudo systemctl enable apache2


No Comment