HOW TO TURN YOUR ICONS INTO A FONT

One of them is that this is how we get dramatically reduce weight, and therefore speed up the loading time of the web up to 14% .
Another reason is the versatility it supposes when developing the web, since adding an icon is reduced to introducing a simple line of HTML and it also offers you all the advantages of treating that icon as a font in CSS, being able to change the size or color at any time, without having to upload the images by FTP again and again.
And last, and perhaps the most important reason, why simplicity when climbing the icons, from a mobile screen to a 40-inch screen without losing resolution, since, in short, we are talking about vectors and not raster images as would be the case with a normal png.
How to start?
- The first thing you should do is create your icons in Illustrator, Sketch, Photoshop, or any other vector editing program.
- Make sure all strokes are expanded (in Illustrator -> Object> Expand) and that there are no masks or effects. It should be a simple and clean traced object.
- Export the icon as .SVG, a vector format.
Iconvau allows us download a template to create our icons even easier.
How to convert them into a font?
There are many free websites that allow you to compile your .SVG icons into a single source format file. We recommend three:
Iconvau
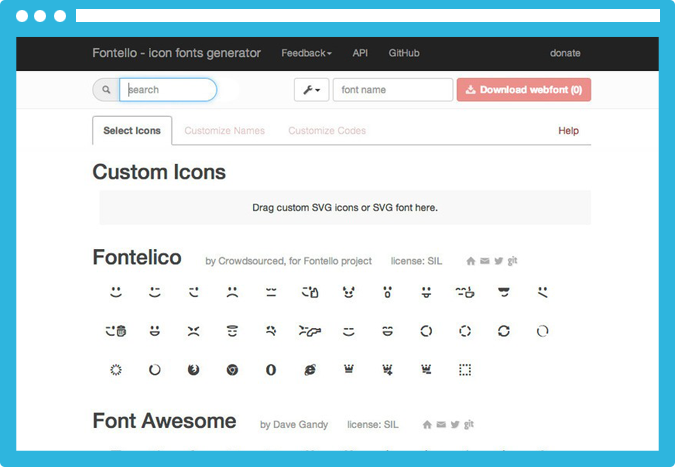
Fontello
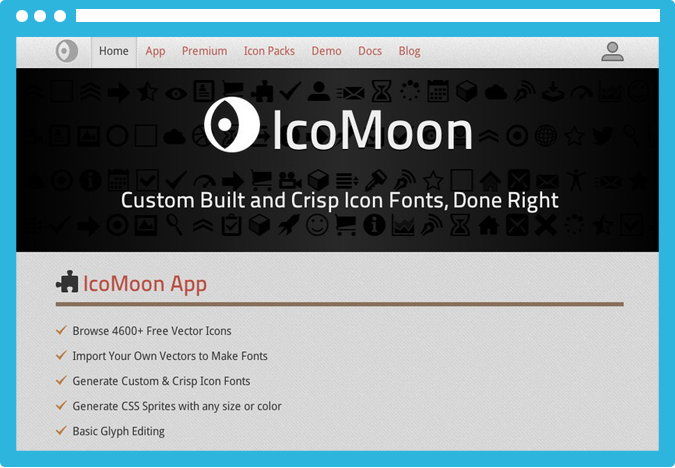
Icomoon
Basically all three do the same, they let you upload your own icons, or choose from a catalog of your own free icons, and download the file with the sources and all the necessary materials to install them on your website.
You can also use Glyph , a Photoshop plugin that allows you to do the same as these websites:
How to use the font?
As simple as uploading the font by FTP to a folder on your website (we will guess that to / fonts) and adding the following code to your CSS file, similar to any other font:
@font-face {

font-family: '40df';

src:url('fonts/40df.eot');

src:url('fonts/40df.eot?#iefix') format('embedded-opentype'),

url('fonts/40df.woff') format('woff'),

url('fonts/40df.ttf') format('truetype'),

url('fonts/40df.svg#icomoon') format('svg');

font-weight: normal;

font-style: normal;

}
(Note: you must change the path and name of the files to yours)
Why are there different formats? Simply because of the incompatibilities of the browsers. If you notice the same .EOT file is even called twice, this is due to a problem with older versions of Internet Explorer. Finally, a .SVG file is included, to support iOS. But do not worry, the user's browser will only download the first compatible format, so including the rest does not imply excess weight.
The next thing is to add the classes to be able to call up the icons individually. In the CSS file we will include something similar to this:
.icon-twitter:before {

content: "\e000";

}

.icon-facebook:before {

content: "\e001";

}

.icon-dribbble:before {

content: "\e002";

}
Don't worry, the file generated with any compiler that we have seen before will come with a css in which all these codes are included, so you just have to copy them to the CSS of your website.
Calling your icons in HTML is as simple as adding on the page:
<span class="icon-twitter"></span> Twitter
(Remember to include a space after closing the tag)
You can use the "span" tag, or the "i" or "em" tag since they are inline tags and do not imply a line break.
Finally, in case you want to modify a specific icon, use CSS as you would with any normal font:
a .icon-twitter {

color: #41b7d8;

}

a:hover .icon-twitter{

color: #005580;

size: 40px;

}
These are the Corporate colors of the main social networks in case you want to use them in their corresponding icons:
- Twitter: #41b7d8
- Facebook: #3b5997
- Google: #d64937
- LinkedIn: #0073b2
- Vimeo: #388fc5
- Flickr: #ff0084
- Pinterest: #cb2027
- Skype: #00aff0
- RSS: #e0812a
And now you have it! Now you can modify your icons much more easily than before and change their size without losing resolution. All are advantages.









No Comment