For various reasons we need to upload an image to be displayed instead of our website, such as when we upload a site under construction. To achieve this we will follow these simple steps.
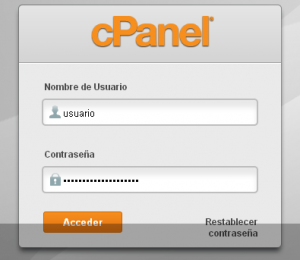
1.- Enter our cPanel administration area with our current accesses.
To enter it you must enter the address of your domain adding at the end "/ cpanel". Example:
domainexample.com/cpanel
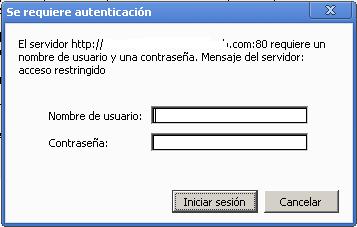
After entering the correct username and password, you will see a window like this:
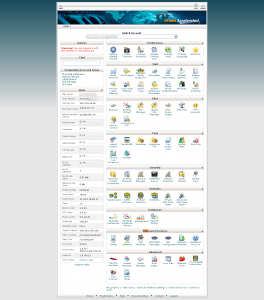
Click on the image to enlarge
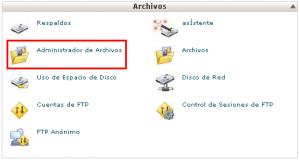
We will select the option "File Manager"
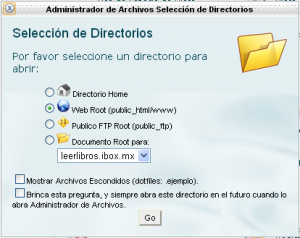
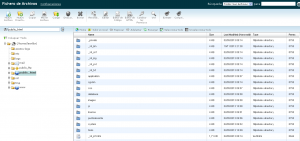
It will show us the following window:
In this window we will select the folder to which we will enter, for example if we select the option: "Home Directory" it will send us to the root folder of our Hosting.
If we select the option "Web Root (public_html / www)" it will send us to the folder where the files of our website are located. In this case it is the option that we will select.
After clicking on the "Go" button we will see the following:
Click on the image to enlarge
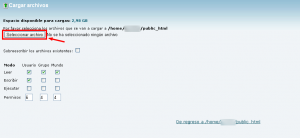
To upload a file we must click on the button ![]() which will show us the following screen:
which will show us the following screen:
Clicking on the "Select Files" button will open a Windows explorer window where we can select our image, which will be uploaded to the server automatically.
Once the file is loaded we can close this window.
Con esto ya tenderemos nuestra imagen en el servidor, sin embargo no se muestra como queremos en nuestro sitio web. Para su correcto funcionamiento debemos crear un archivo llamado: “index.html”
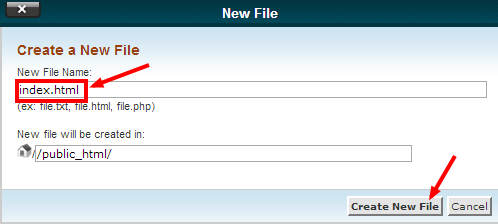
To create it we go to the button ![]() el cual abrirá la siguiente ventana, donde escribiremos el nombre “index.html“:
el cual abrirá la siguiente ventana, donde escribiremos el nombre “index.html“:
Once created, this file will appear in the list of files in our Web Hosting. To edit it, you have to select it and then click on the icon ![]()
Dentro del archivo vamos a escribir el siguiente código, reemplazando “imagen.jpg” por el nombre y extensión de la imagen subida previamente:
<html>
<body>
<center><img src="”imagen.jpg”"></center>
</body>
</html>
It is important to respect the quotation marks and braces. Any questions please make a comment and we will help you.







Excellent and simple your explanation, thank you very much
It is a pleasure to have these tutorials. I hope they help you a lot !!
Hello a question and if I want to upload a text and not an image
You can use the HTML editor: https://www.youtube.com/watch?v=0OjsULCJWSE
If it doesn't appear to you or you can't use it, you can use the Code Editor and search for the text with the Ctrl + F keys and search for a part of the text.
Greetings
does not work with image.gif